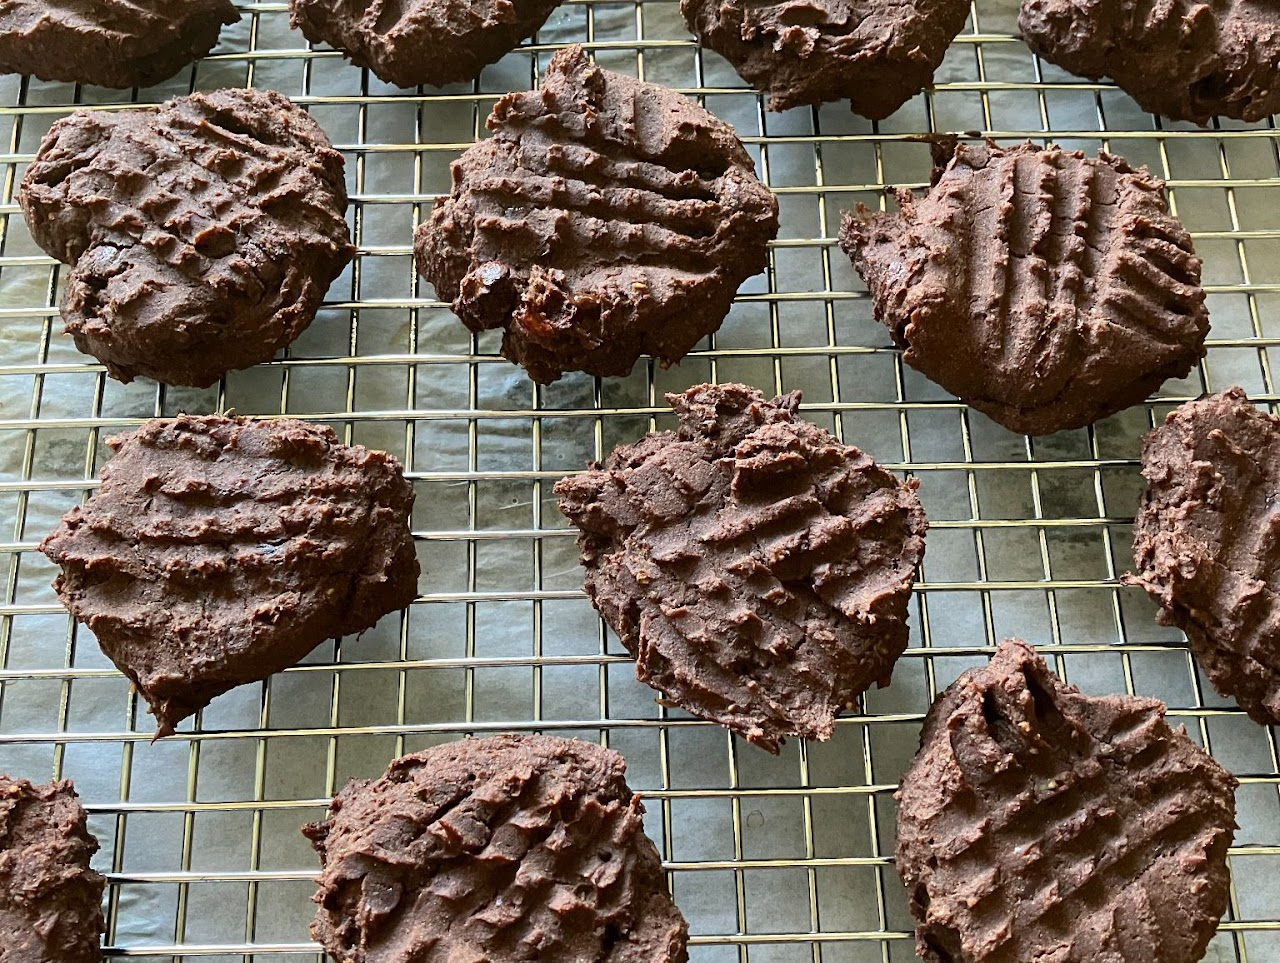
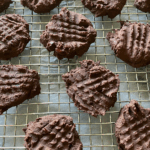
Cinnamon Bun Filling
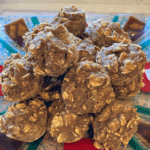
Made these beauties today, and I couldn’t be more excited! They’re WFPB and gluten-free. The dough is a buckwheat–sorghum sourdough base, and the filling is a cozy mix of apples, mulberries, and a touch of maple syrup. I also added a thin layer of almond butter on the rolled out dough before spreading on the apple-cinnamon mixture, it makes the buns extra gooey and satisfying.I’ve been working toward a tasty GF, WFPB cinnamon bun for years, and this recipe finally delivers. The best part? This filling will work beautifully with any cinnamon bun dough you like, not just sourdough or GF.
Ingredients
- 2 cups peeled, finely chopped apples
- ¼ cup dried mulberries
- 2 tablespoons maple syrup
- 3 tablespoons water
- 1 tablespoon arrowroot flour
- 2 teaspoons ground cinnamon I used 1 tsp of cassia, 1 tsp Ceylon
- 3 tablespoon almond butter
Instructions
- In a medium saucepan combine the apples, mulberries, maple syrup, and 2 tablespoons of the water. Bring to a boil, reduce heat, cover and cook for about 5 minutes, stirring occasionally, until the apples are softened and beginning to break down.
- Remove the lid and stir in the arrowroot flour, cinnamon, and 1 tablespoon of water. Cook and stir for 1 minute more, until slightly thickened. Remove from heat and let cool slightly.
- To assemble the buns, spread the almond butter evenly over the rolled out dough. Spoon the cooled apple mixture on top and spread evenly. Roll up dough, let rise and bake as directed.
- (Optional: About 5 minutes before the buns are finished baking, remove them from the oven and brush with an additional 1 tablespoon of maple syrup. Return to the oven to set the glaze.)
Notes
Apple texture: After about 5 minutes of cooking, the apples should be soft and beginning to break down. If you prefer chunkier filling, reduce the cooking time slightly.
Mulberry swap: Dried mulberries add natural sweetness and a caramel-like flavour, but raisins, currants, or chopped dates also work well.
Nut-free option: If you’d like to keep this recipe nut-free, swap the almond butter for sunflower seed butter or simply skip this step.
Sweetness level: The filling is lightly sweetened. For a sweeter bun, add an extra tablespoon of maple syrup or a handful of chopped dates.
Make-ahead tip: The apple filling can be made 1–2 days in advance and stored in the fridge. Bring to room temperature before spreading on dough.