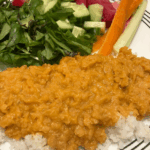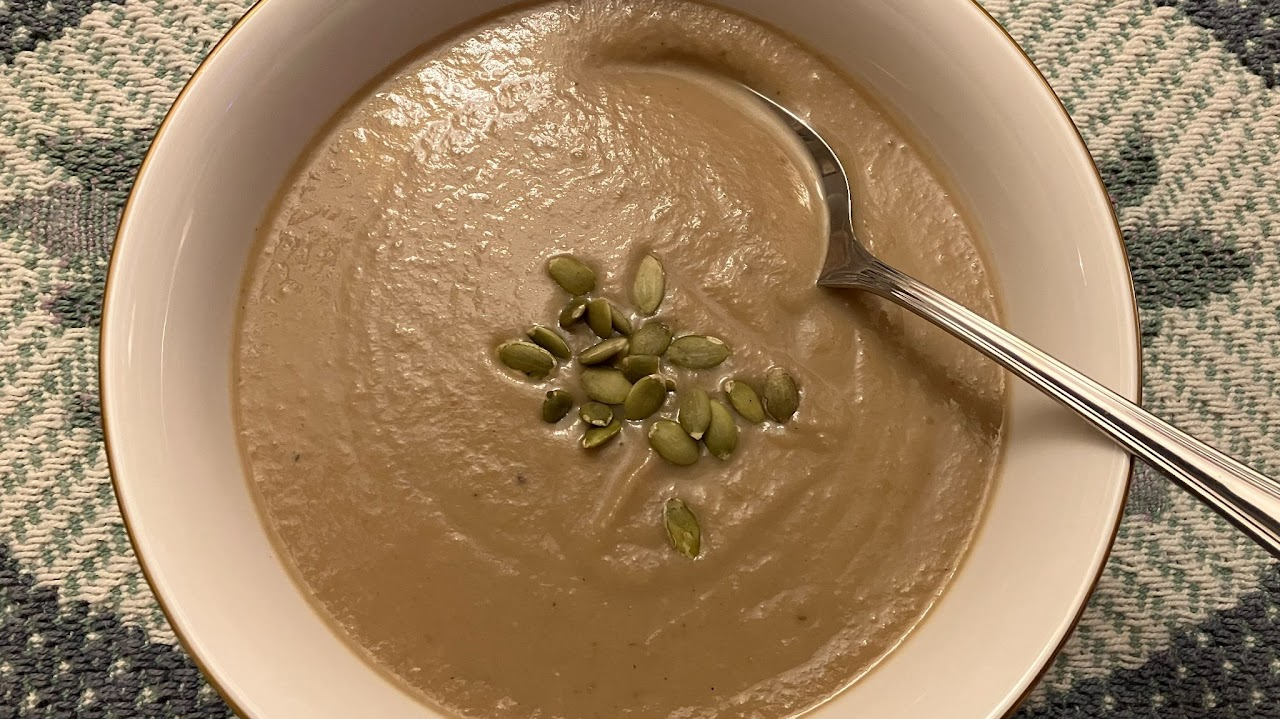
Roasted Celeriac & Caramelized Onion Soup
This soup does require a bit of time but it’s completely worth it especially in the fall when celeriacs are in abundance. That’s how this recipe came to be!
Ingredients
- 1 celeriac celery root
- 2 tablespoons olive oil
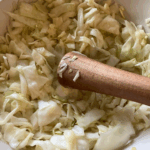
- 2 large onions sliced
- 3 cloves garlic minced
- 4 cups 700ml vegetable stock
- 1/2 tsp salt
- 1 tsp freshly ground pepper
Instructions
- Heat the oven to 400°F.
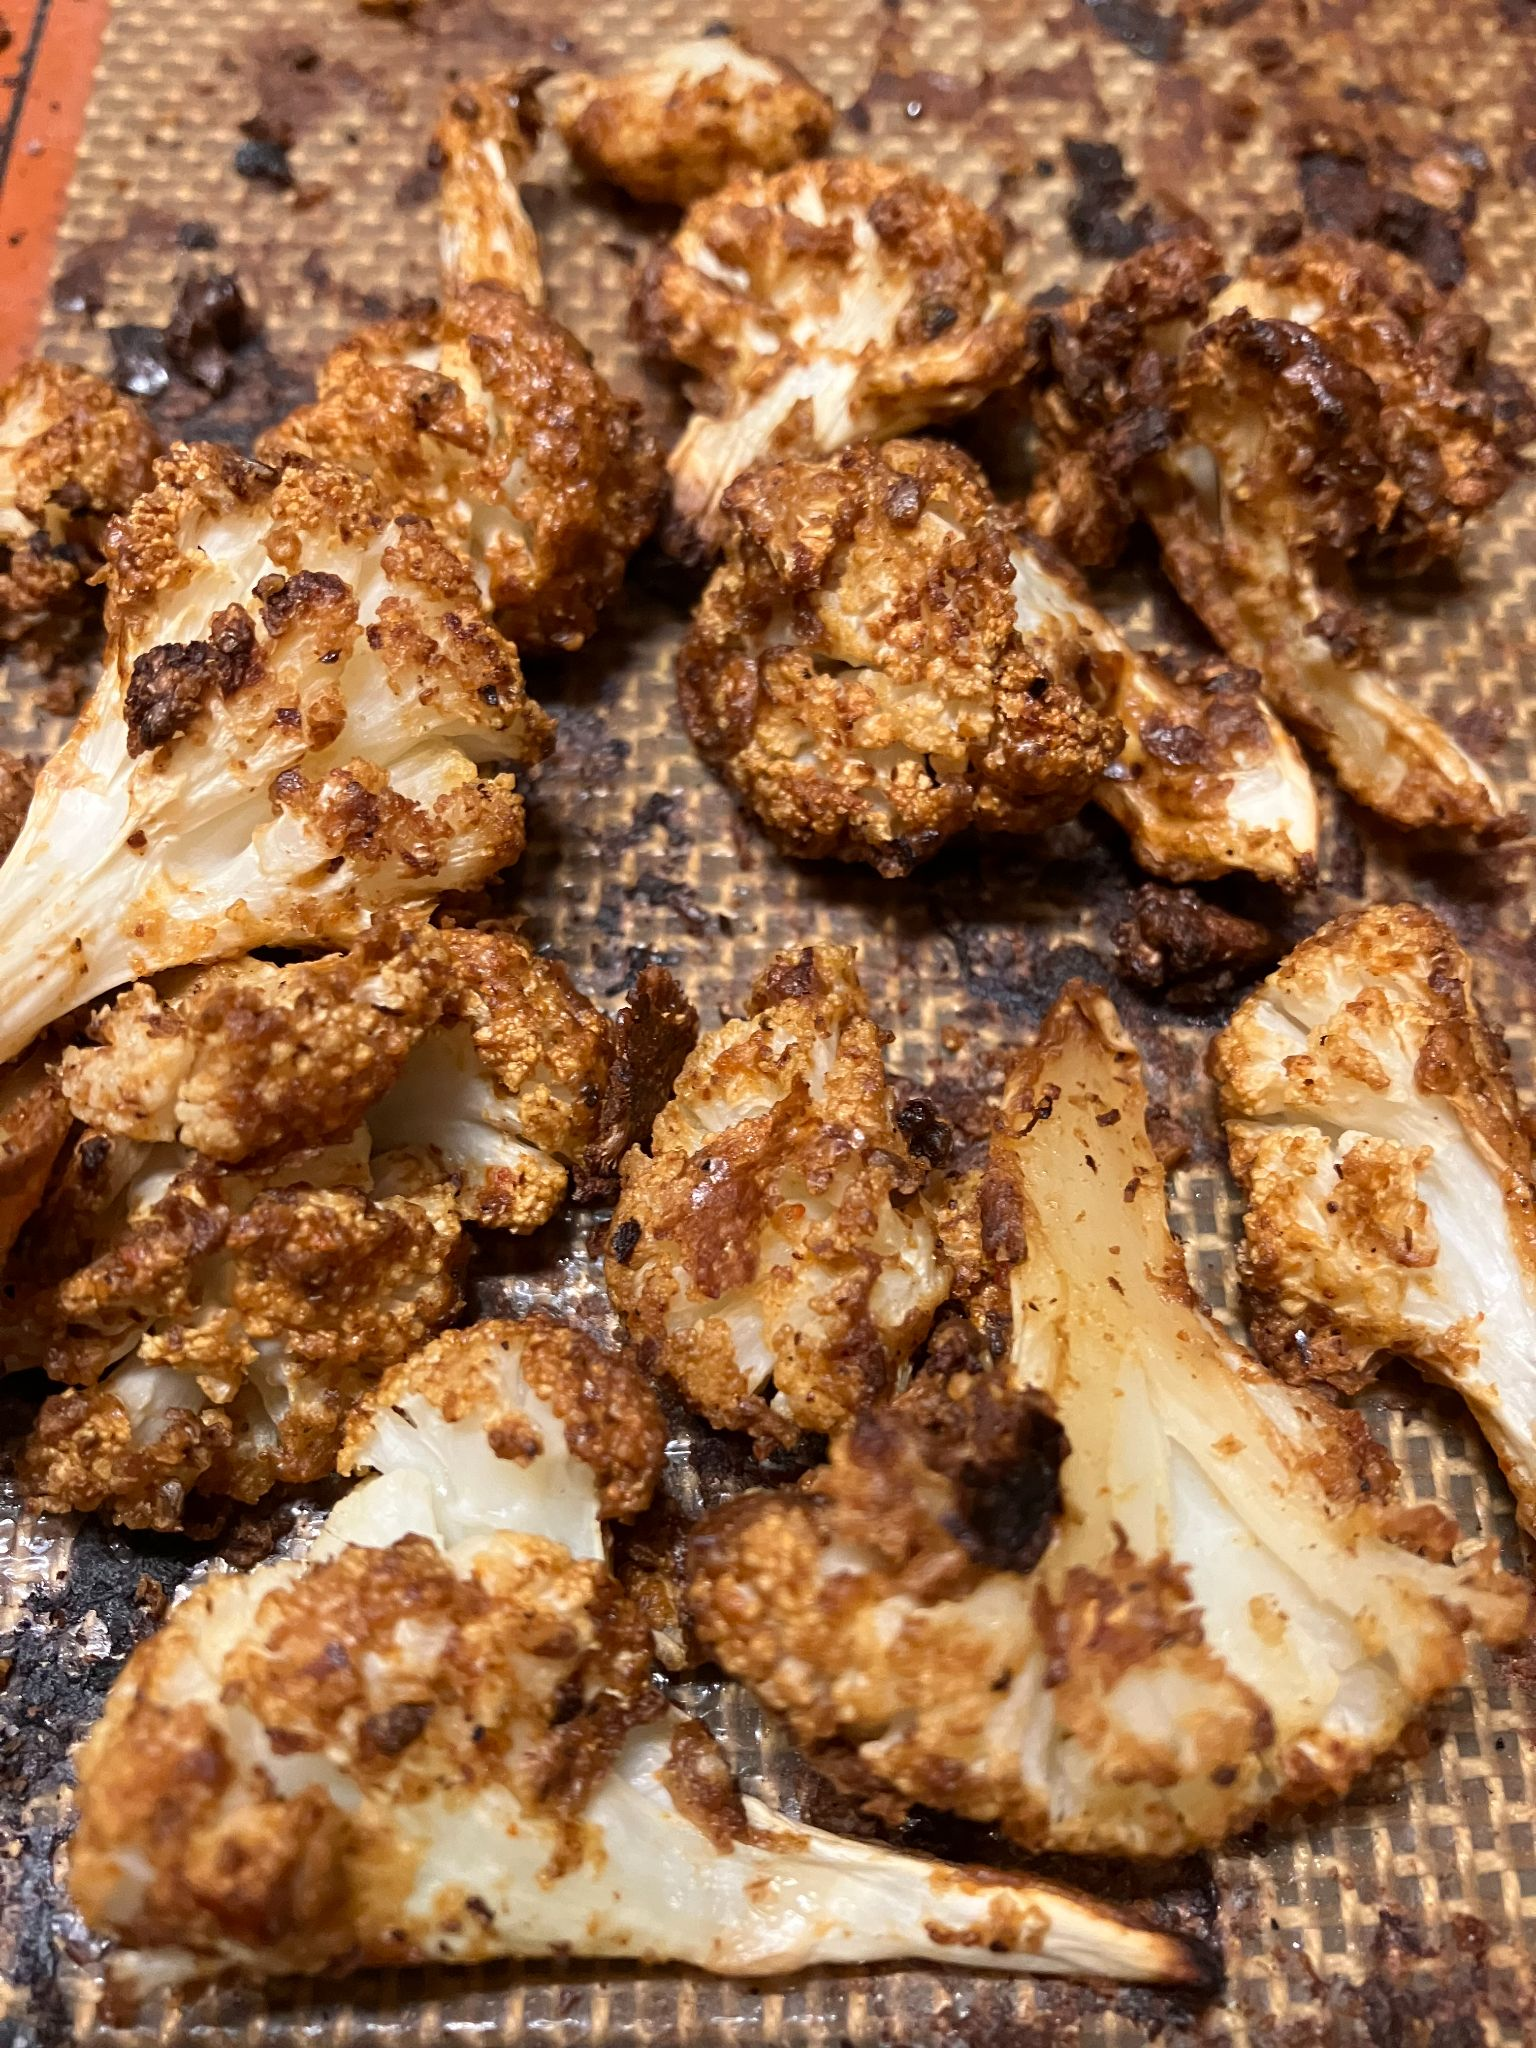
- Carefully peel the celeriac and chop into cubes. Place on a baking sheet and drizzle with 1 tablespoon of olive oil. Spread out in a single layer and roast for 40 minutes or until the cubes turn golden.
- Meanwhile, heat the remaining 1 tablespoon of oil in a large pot on medium-low and add the onions. Cook on medium-low for about 10 minutes or until the onions are soft and translucent. Turn up the heat and continue cooking until the onions are golden, stirring often. Once caramelized, add the garlic and cook for 1 minute.
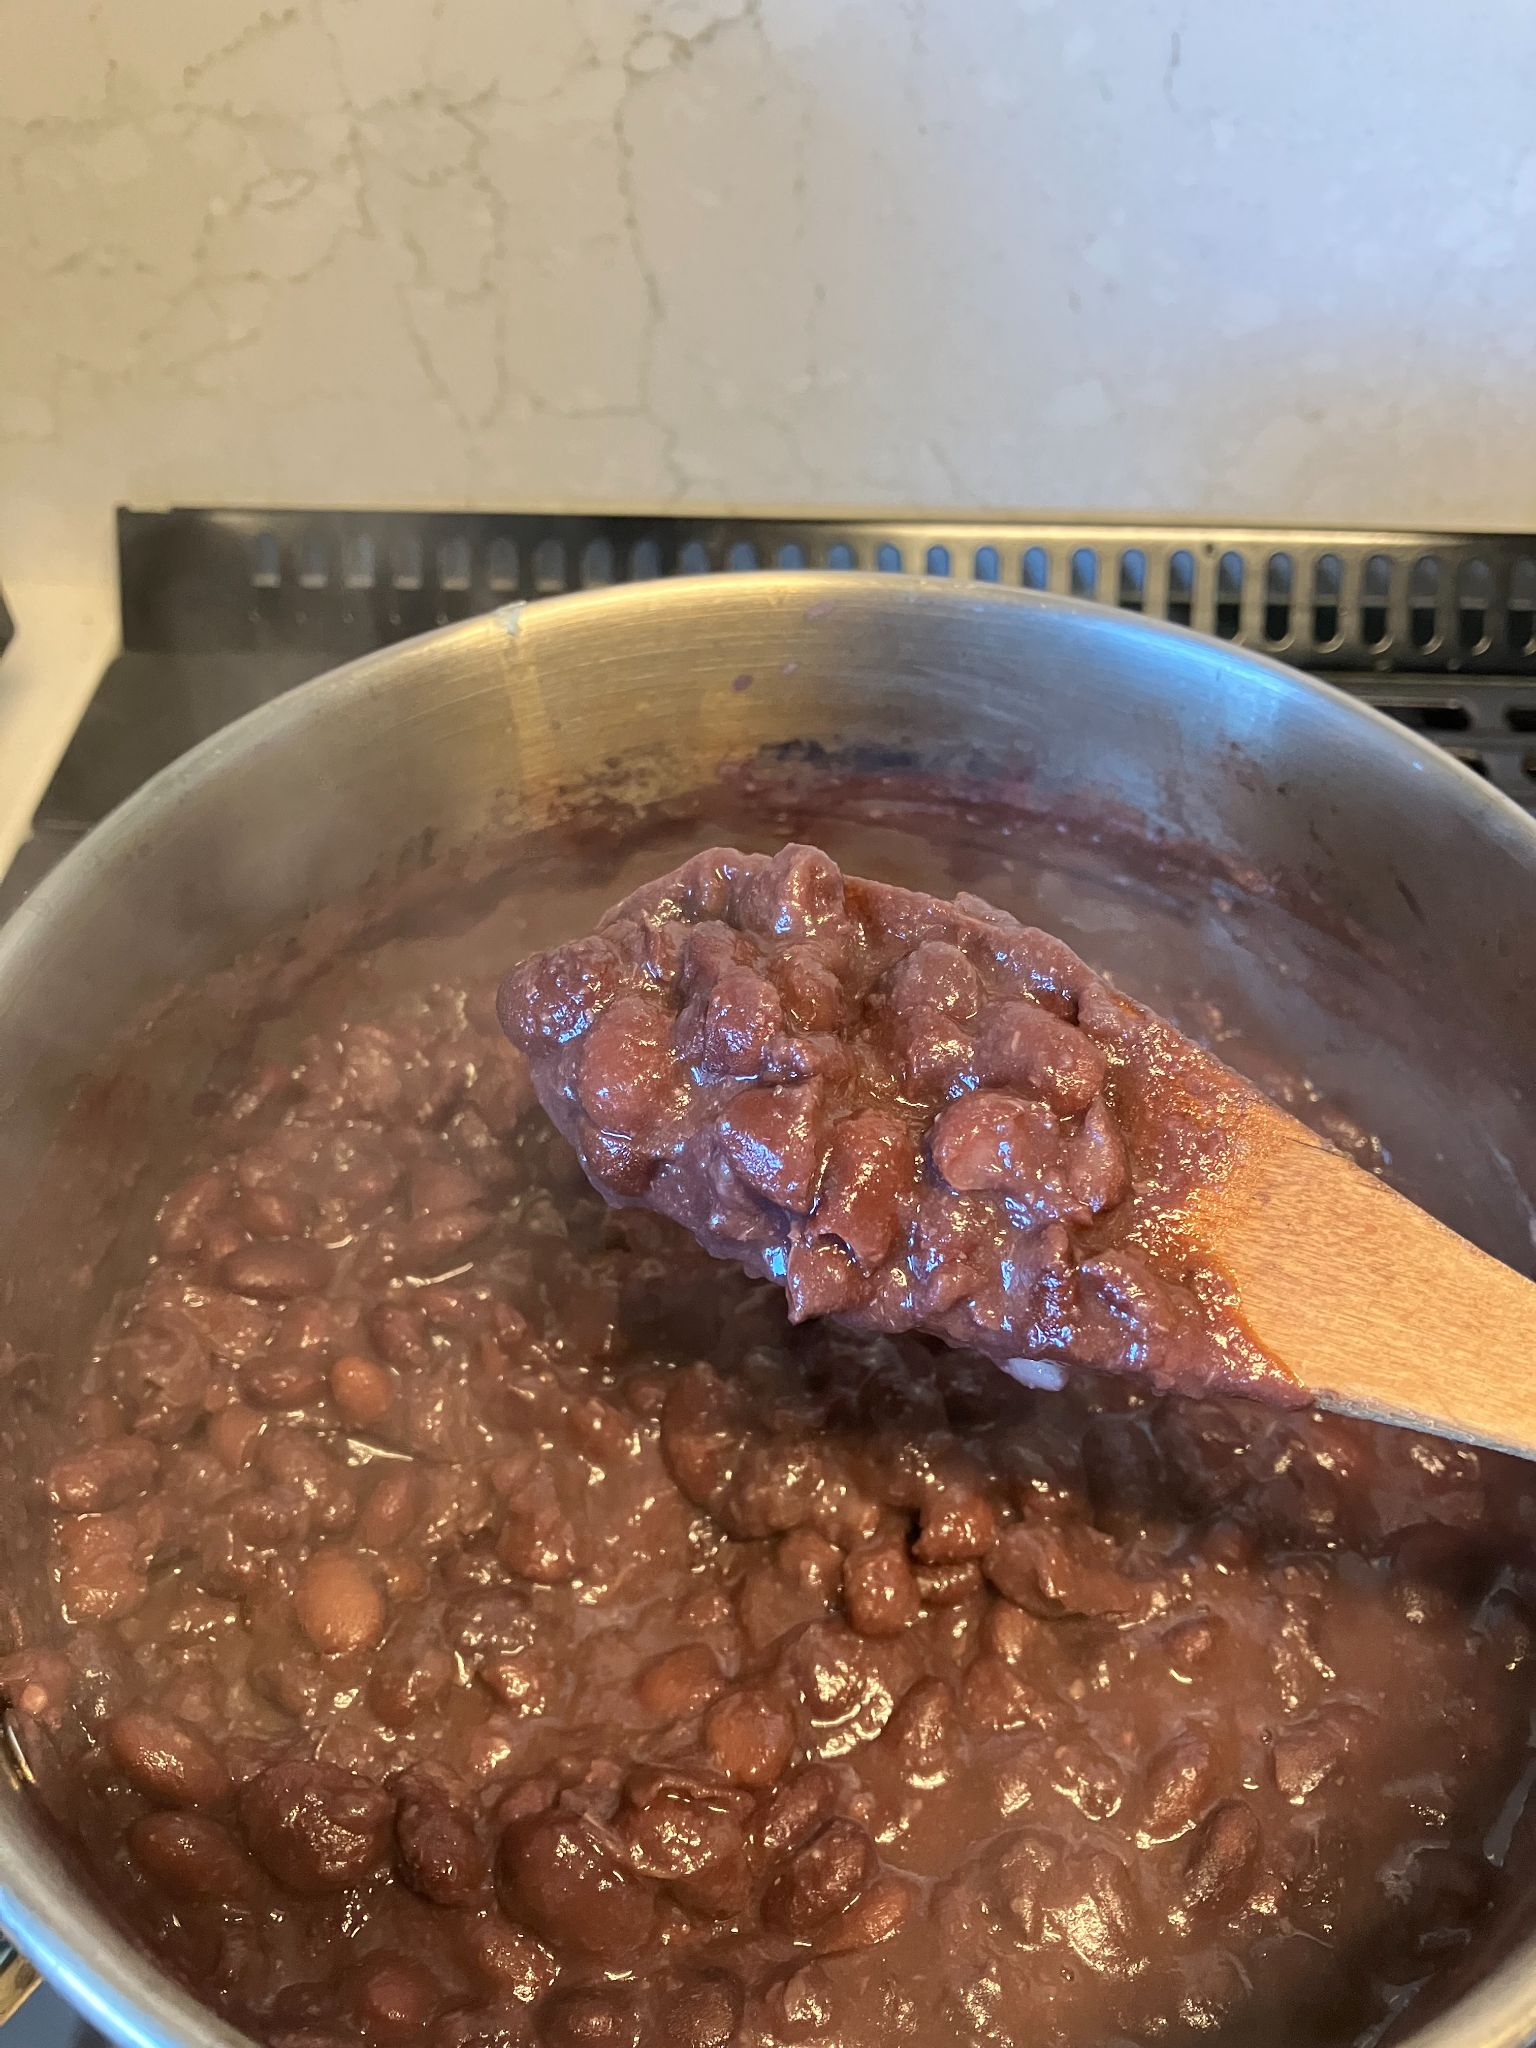
- Add the stock, bring the soup to a boil and then reduce the heat and simmer for 5 minutes.
- When the roasted celeriac is finished, add it to the pot, bring it back to a boil and simmer for a further 5 minutes.
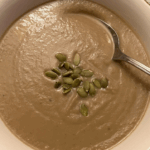
- Transfer the soup to a blender and process until smooth. (Alternatively, you can just process half for a chunky soup.) Season with salt and pepper. Top with pumpkin seeds or a swirl of yogurt.